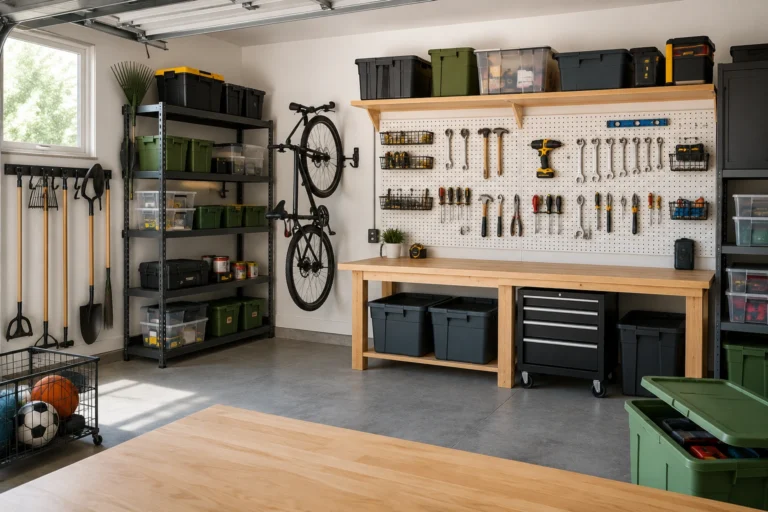
15 Garage Pegboard Ideas for Easy Tool Storage
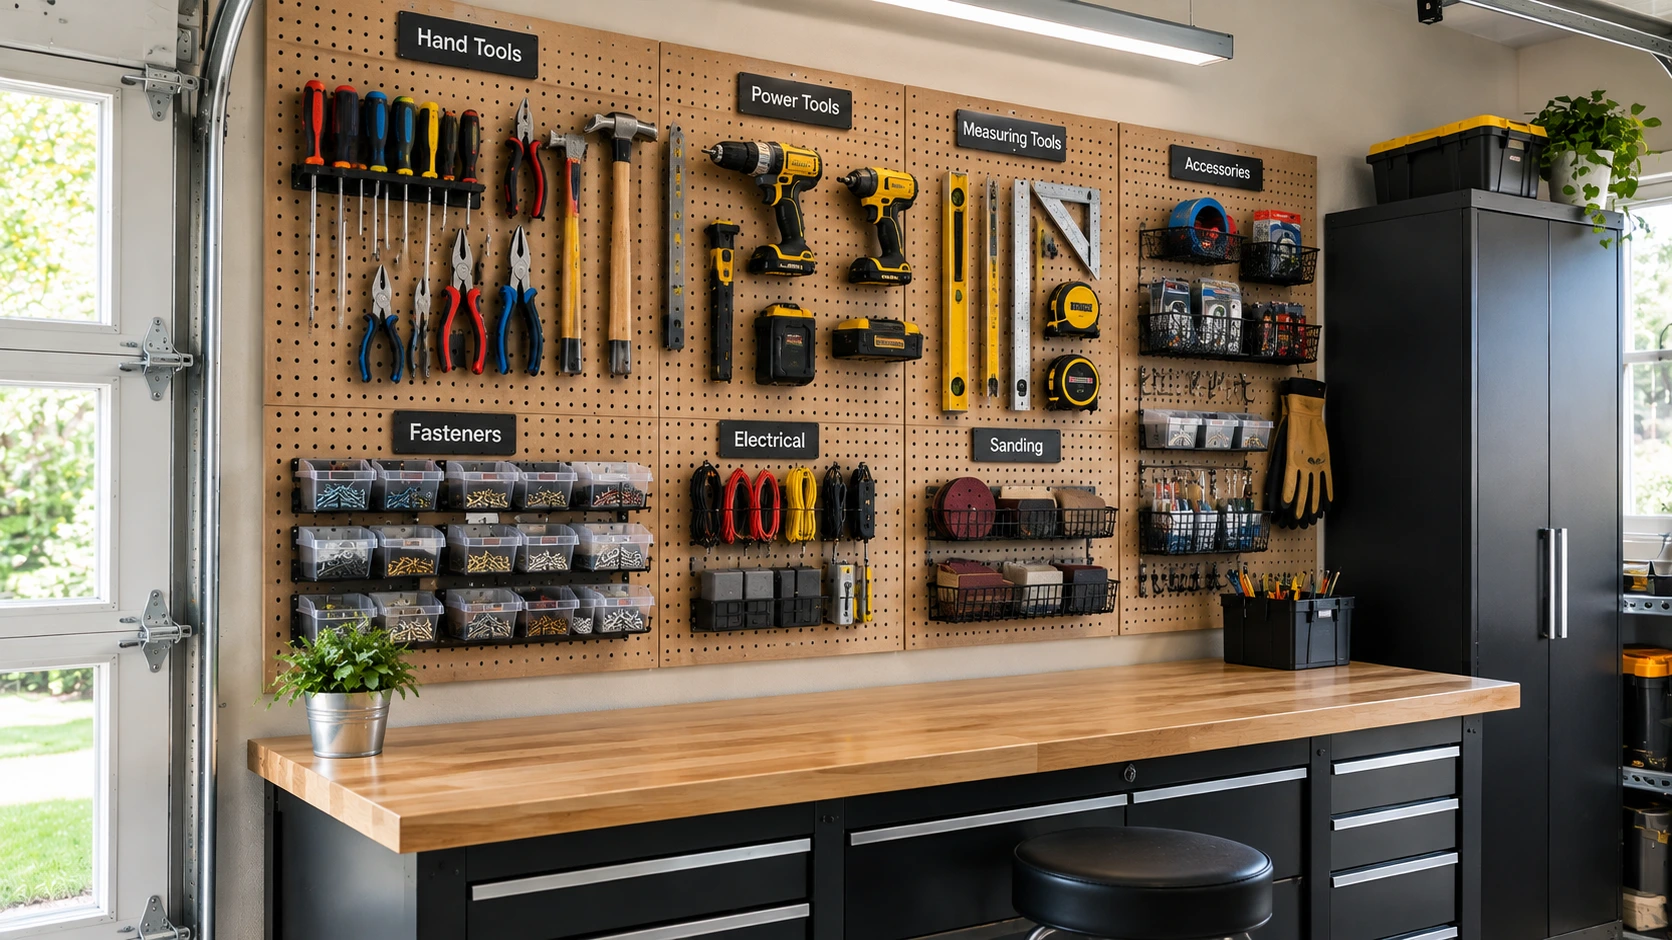
A workbench covered with screwdrivers, pliers, tape measures, and small hardware usually isn’t a tool-storage problem. It’s a visibility and accessibility problem.
A garage pegboard can solve much of it by moving frequently used tools onto the wall and giving each item a defined place.
The useful part isn’t simply hanging tools from hooks. A good pegboard setup makes it obvious where a tool belongs, how easily you can reach it, and what should be stored somewhere else.
That’s why the best garage pegboard ideas combine hooks, holders, baskets, shelves, and sensible zones rather than filling every available hole.
Before installing one, consider your wall space, mounting surface, tool weight, workbench location, and how your tool collection is likely to change.
The following ideas will help you build a pegboard system that is practical now and easy to adjust later.
Before Installing a Garage Pegboard, Check These 7 Things
A few minutes of planning can prevent an organized-looking pegboard from becoming difficult to use.
1. Measure the Available Wall
Measure the usable width and height before buying the board.
Check for garage doors, windows, cabinets, electrical outlets, switches, lighting, and vehicle clearance.
2. Check the Mounting Surface
The board needs to be securely supported by a mounting system appropriate for your wall.
Don’t choose mounting hardware based only on the board itself. The wall, fasteners, backing, and expected load all matter.
3. Consider Tool Weight
Light hand tools are relatively easy to organize.
Heavier drills, clamps, or other equipment may require purpose-built holders or a different storage solution altogether.
4. Identify Your Most-Used Tools
Think about the tools you reach for during an ordinary week.
Those should receive the easiest-to-reach positions.
5. Group Tools Logically
Create broad zones for categories such as screwdrivers, pliers, measuring tools, fasteners, and power-tool accessories.
6. Leave Expansion Space
An empty section isn’t wasted space.
It gives you somewhere to put the next tool without having to rearrange the entire board.
7. Check Clearance
Make sure hanging tools won’t interfere with vehicles, doors, walkways, your workbench, or other garage activities.
15 Garage Pegboard Ideas
1. Create a Dedicated Hand Tool Wall
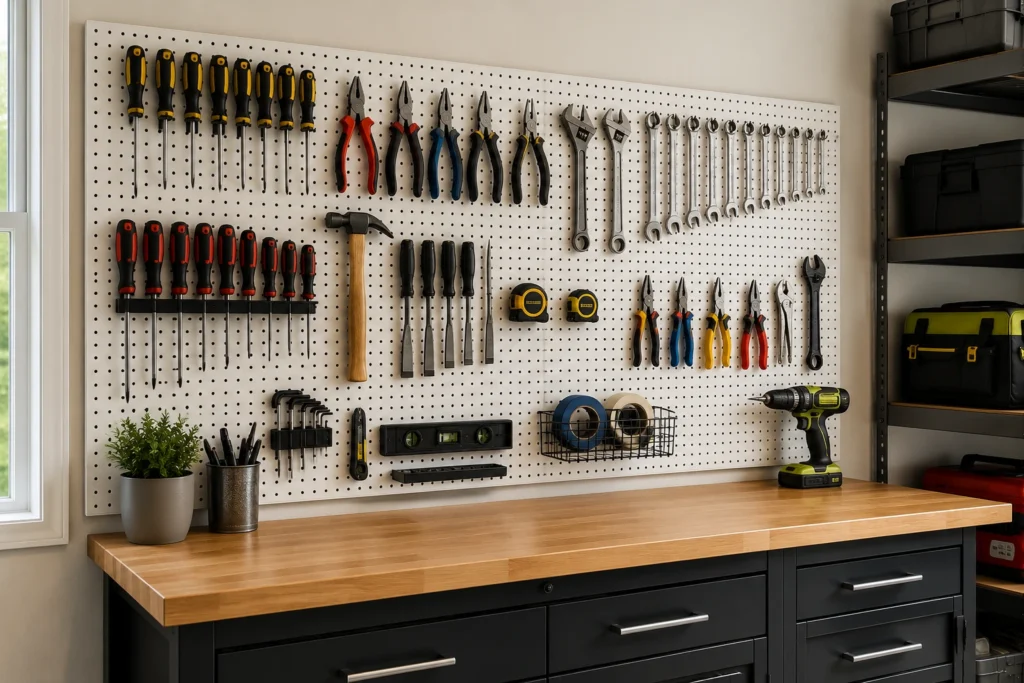
Best for: Everyday garage tools.
A dedicated hand-tool wall is one of the simplest ways to reduce workbench clutter.
Keep screwdrivers, pliers, hammers, wrenches, measuring tapes, utility knives, and similar tools in defined areas.
Instead of arranging everything purely by size, think about how you work.
Tools that are commonly used together should be close together. For example, measuring tools can sit near fastening and cutting tools.
Why it works: You can see what you own immediately and grab common tools without opening a toolbox or drawer.
2. Arrange Tools Around Their Outlines
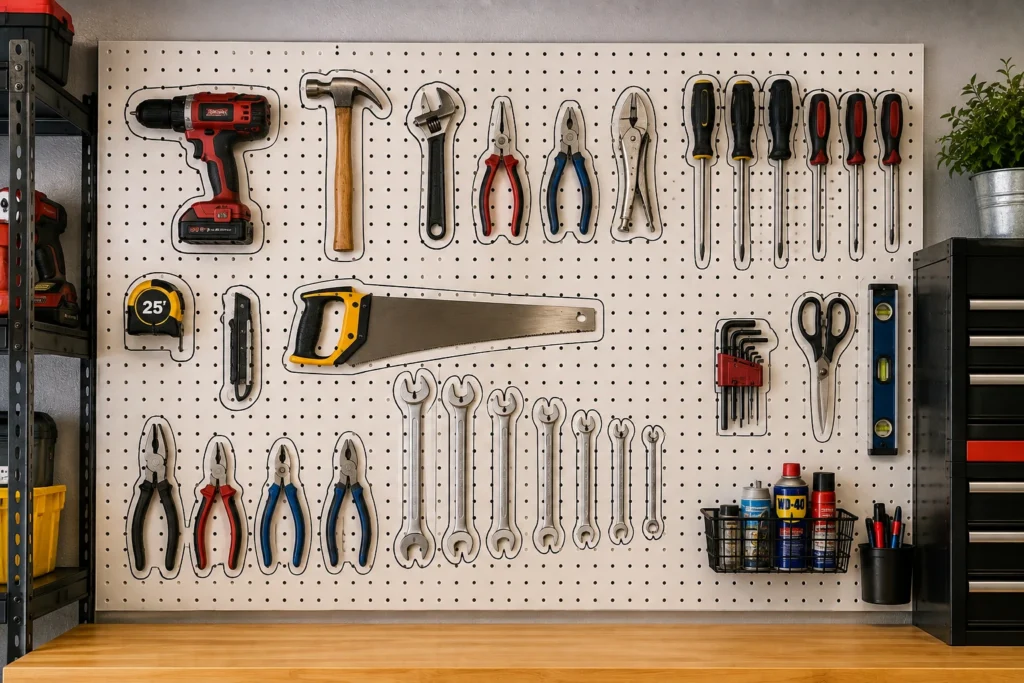
Best for: Visual organization.
Give each larger tool a clearly defined location and leave enough empty space around it to make the position obvious.
For larger hand tools, you can use simple outlines or shadow-board markings.
When a tool is removed, the empty space shows what’s missing.
Keep the markings practical rather than decorative. The goal is faster tool retrieval and easier cleanup.
Why it works: Everyone using the garage can see where each tool belongs without having to remember the layout.
3. Add Double Hooks for Heavier Hand Tools
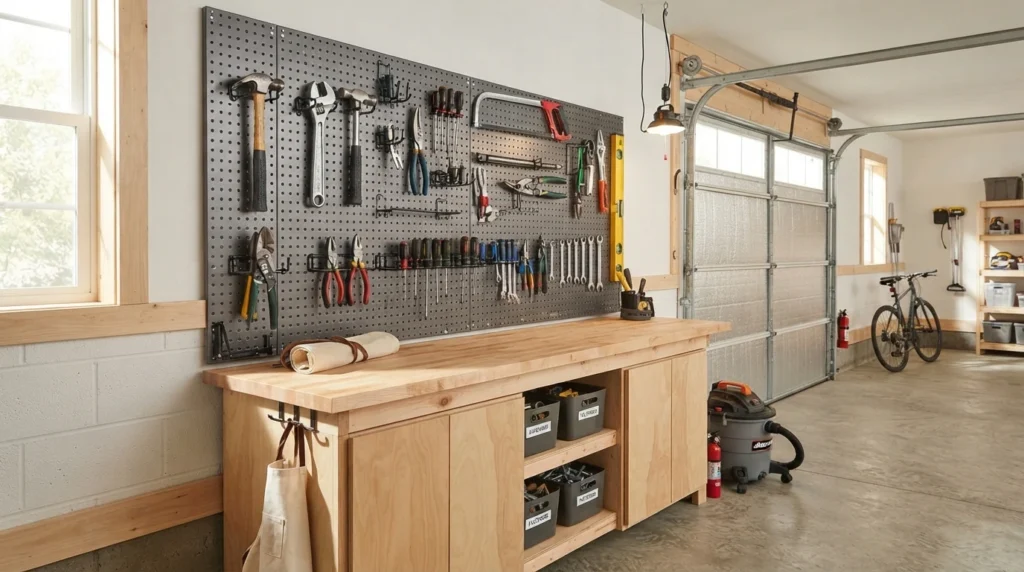
Best for: Larger hand tools and appropriately supported equipment.
Some tools are too awkward for a single small hook.
Using two appropriately rated hooks can provide better stability for certain larger tools.
Position the hooks according to the tool’s shape and balance instead of automatically spacing them evenly.
Always check the capacity of the hook, pegboard, and mounting system.
Why it works: The right support reduces movement and makes larger tools easier to remove and return.
4. Use Small Baskets for Loose Accessories
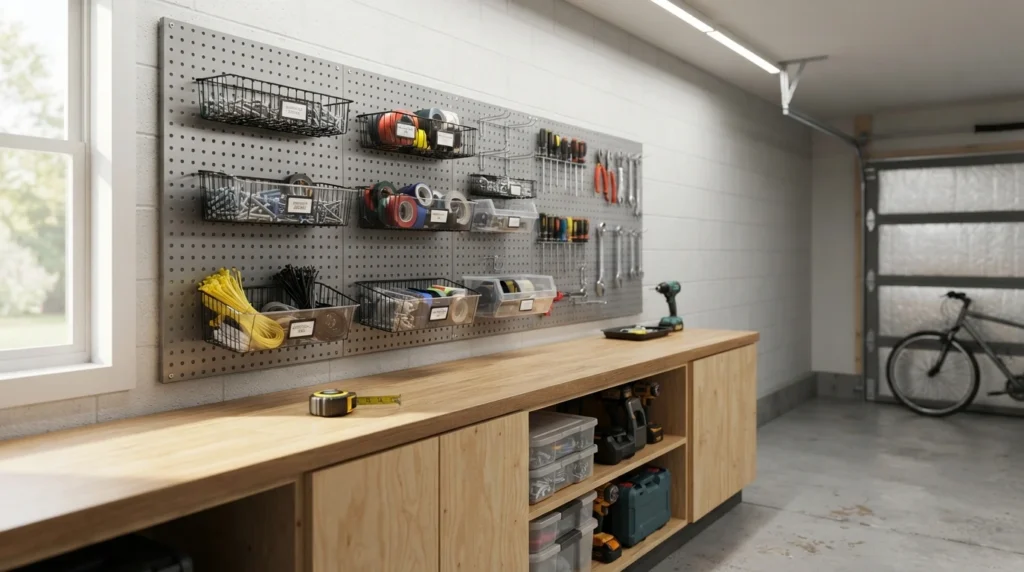
Best for: Small items that don’t hang naturally.
Screws, anchors, zip ties, electrical tape, sanding discs, and similar supplies can quickly create clutter.
Small pegboard baskets give these loose items a defined home without requiring additional floor or cabinet space.
Use separate baskets for different categories and add labels when necessary.
Why it works: Small accessories stay close to the tools they’re used with instead of spreading across the workbench.
5. Create a Dedicated Screwdriver Section
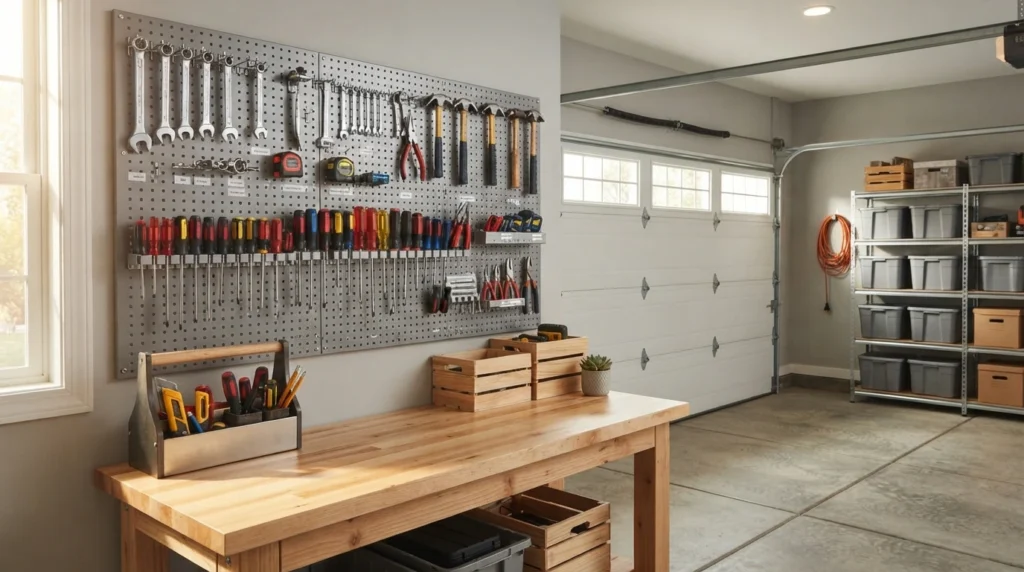
Best for: Large screwdriver collections.
Screwdrivers are easy to scatter because they come in different lengths and tip styles.
Use compatible screwdriver holders to keep them separated and visible.
Arrange them by size, type, or frequency of use.
Leave enough space between holders so removing one screwdriver doesn’t disturb its neighbors.
Why it works: You can identify the right screwdriver at a glance instead of searching through a drawer.
6. Add Storage for Pliers and Cutters
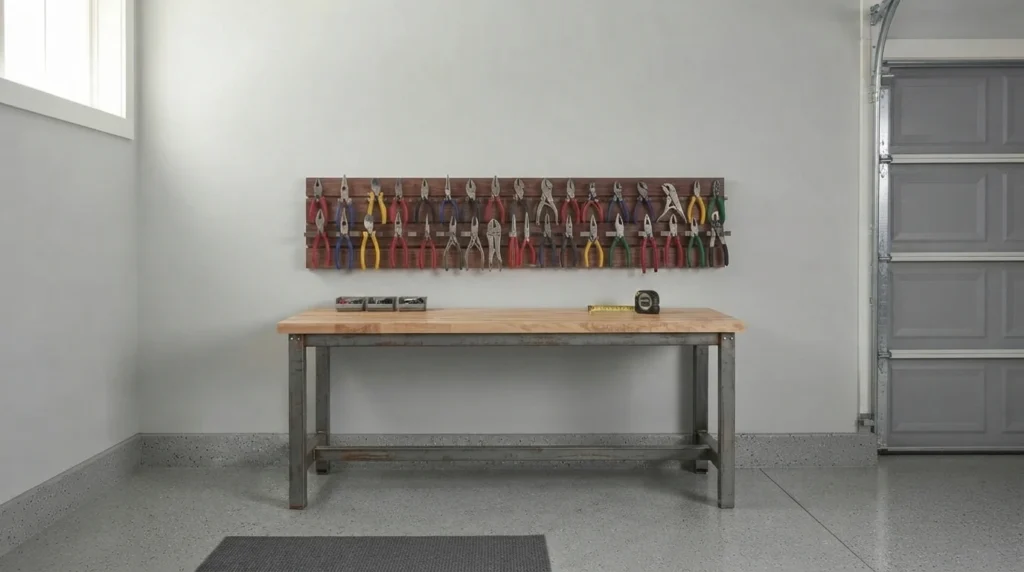
Best for: Frequently used gripping and cutting tools.
Create a dedicated zone for pliers, wire cutters, locking pliers, and similar tools.
Appropriately sized hooks or holders can keep the tools separated and easy to grab.
This arrangement is particularly useful when several tools perform related tasks.
If children have access to the garage, position sharp cutting tools appropriately or use more secure storage where necessary.
Why it works: Related tools stay together, creating a faster workflow for repair and DIY projects.
7. Install a Dedicated Drill and Power Tool Area
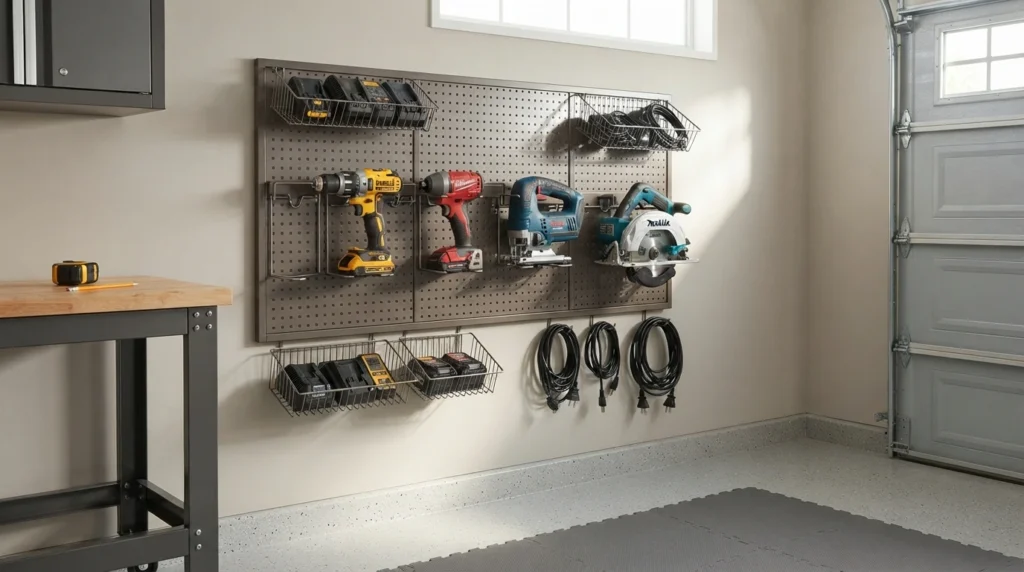
Best for: DIYers with frequently used power tools.
Power tools require more consideration than lightweight hand tools.
Use holders designed for the specific tool and its expected load rather than assuming a standard pegboard hook is sufficient.
Keep batteries and chargers organized nearby, but don’t allow charging cables and accessories to overwhelm the area.
For particularly heavy or bulky equipment, a cabinet, shelf, or dedicated rack may be more appropriate.
Why it works: Frequently used power tools remain accessible without asking the pegboard to support equipment it wasn’t designed to hold.
8. Add a Small Shelf to the Pegboard
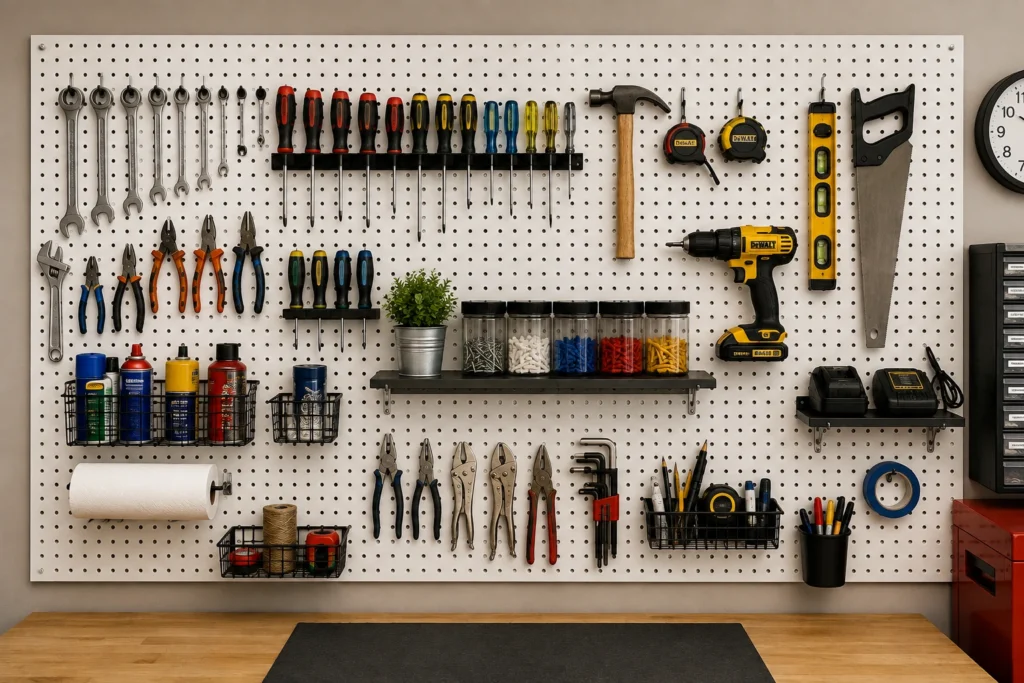
Best for: Supplies and containers that don’t hang easily.
A small shelf adds another storage layer to your pegboard.
Use it for containers of screws, wood glue, sanding supplies, measuring accessories, or other small items.
Hooks are better for individual tools, while shelves work well for grouped supplies.
Avoid overloading the shelf and follow the manufacturer’s mounting and weight recommendations.
Why it works: You can combine hanging storage with shelf storage without consuming additional floor space.
9. Organize Tools by Project Type
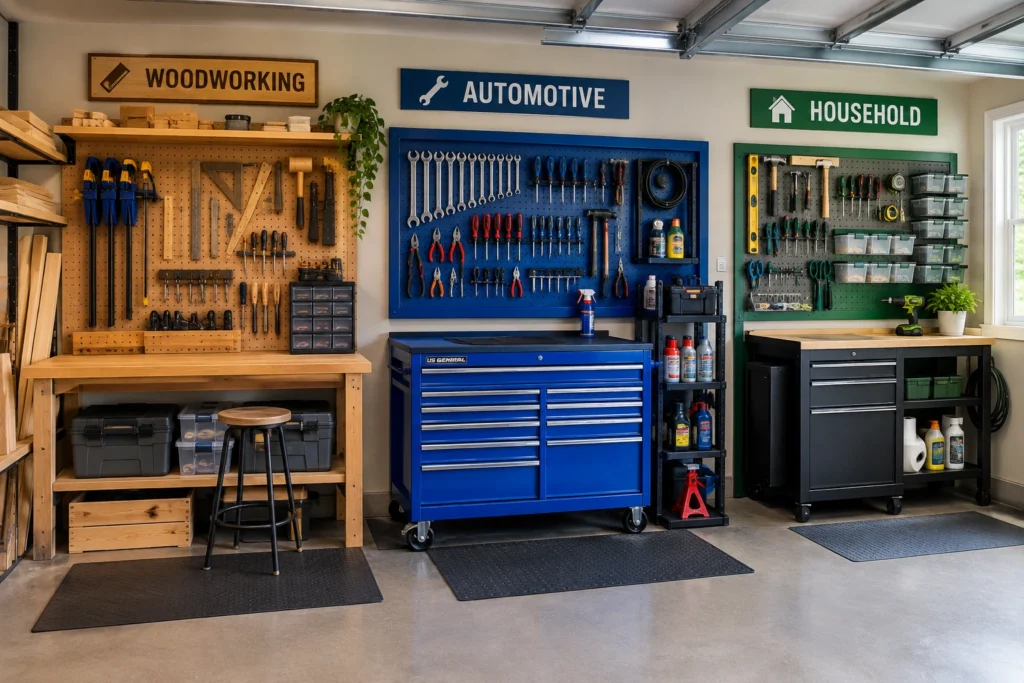
Best for: Garages used for different hobbies or projects.
A tool-type arrangement isn’t always the best choice. If you regularly work on woodworking, automotive projects, or household repairs, you can create separate zones for those activities.
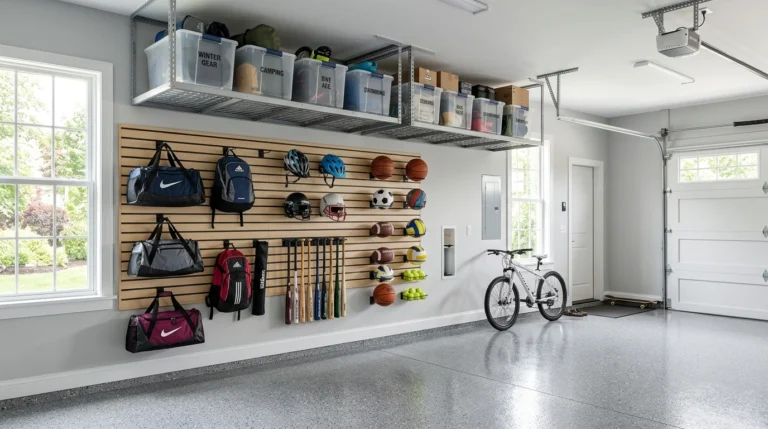
If your garage also stores recreational equipment, you can combine your workshop area with a broader sports equipment storage setup.
However, don’t sacrifice convenience just to make the categories look perfect.
If you use the same screwdriver for several types of projects, keeping it with one project group may actually make retrieval slower.
Why it works: A project-based layout can reduce unnecessary movement when you frequently perform the same type of work.
10. Create a Compact Pegboard Above Your Workbench
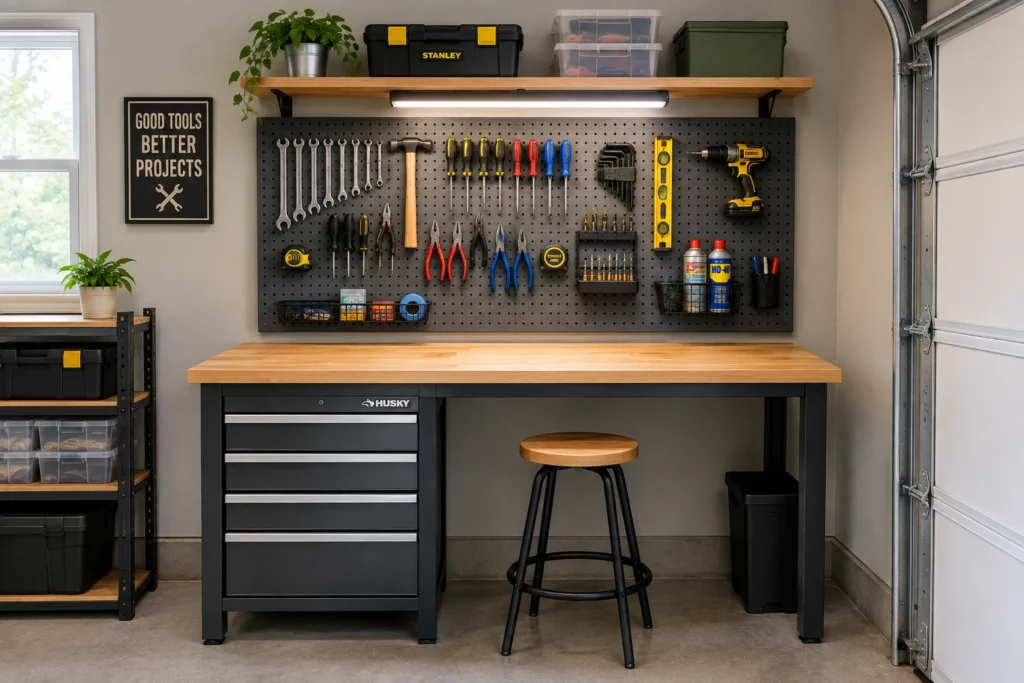
Best for: Small garages.
The wall above a workbench can be one of the most useful locations for a pegboard.
Place the tools you use most frequently within comfortable reach and move less-used tools toward the edges.
Keep enough clearance above the workbench so hanging tools don’t interfere with projects.
This arrangement also leaves the floor available for vehicles, cabinets, or other storage.
Why it works: Your most-used tools are located exactly where you need them.
11. Use Clear Containers for Small Hardware
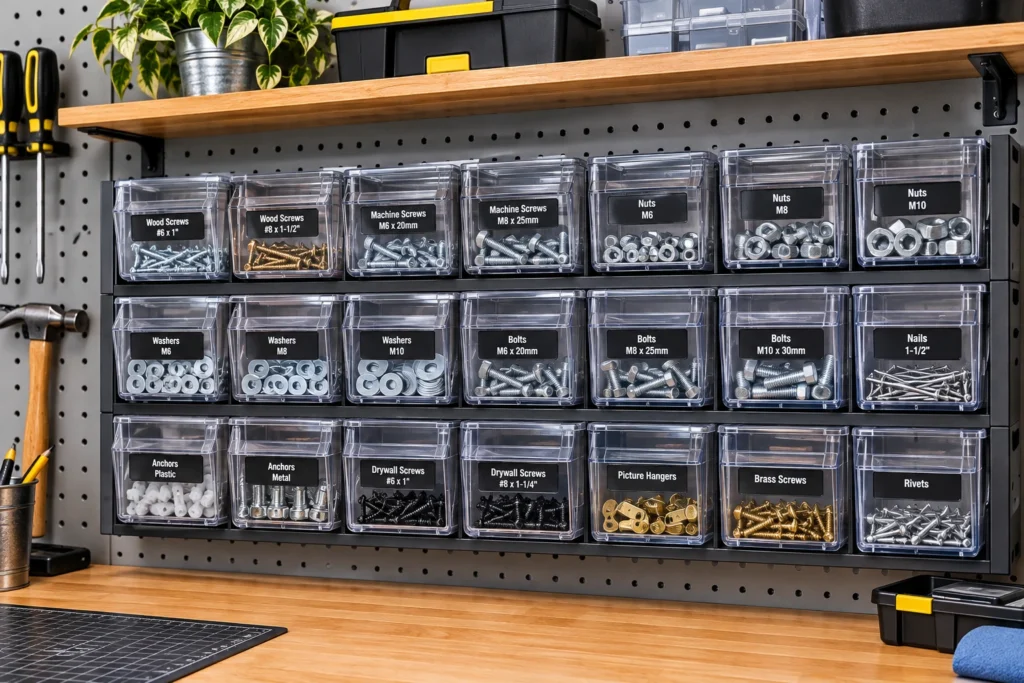
Best for: Screws, nuts, bolts, washers, nails, and similar hardware.
Small clear containers make it easier to identify hardware without opening every box.
Group items by type and size, then label containers where necessary.
Depending on the system, containers can sit on a pegboard shelf or attach through compatible storage accessories.
Why it works: You spend less time searching for small pieces during a project.
12. Build a Pegboard Tool and Maintenance Station
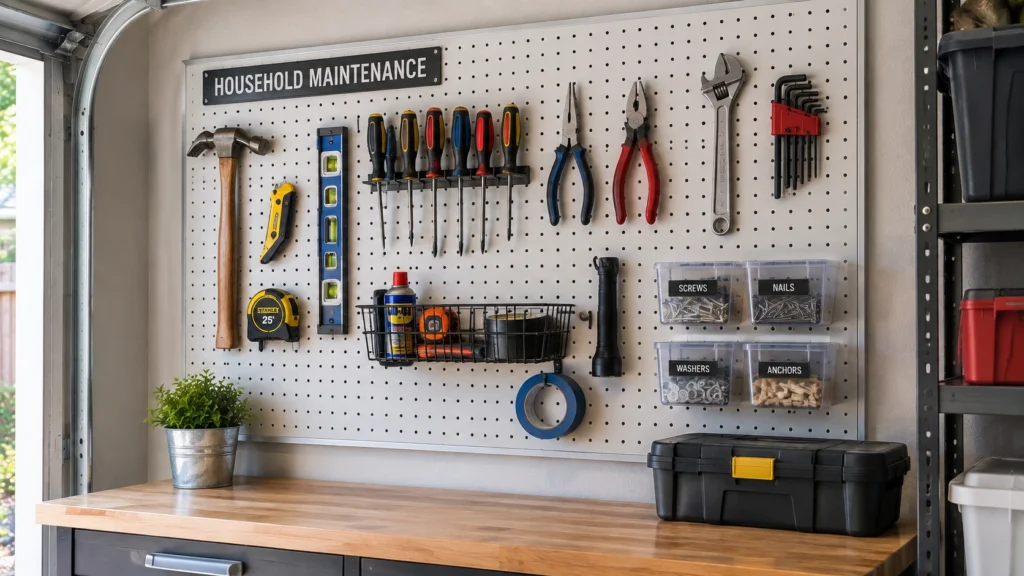
Best for: General household repairs.
Instead of making the entire board a workshop tool wall, dedicate part of it to basic household maintenance.
A useful maintenance zone might include:
- Hammer
- Screwdrivers
- Pliers
- Tape measure
- Utility knife
- Level
- Adjustable wrench
- Small hardware
This is especially useful when the garage serves as both a workshop and general household storage area.
Why it works: The tools you need for quick repairs are kept together instead of buried among specialized workshop equipment.
13. Add Labels to Pegboard Storage Zones
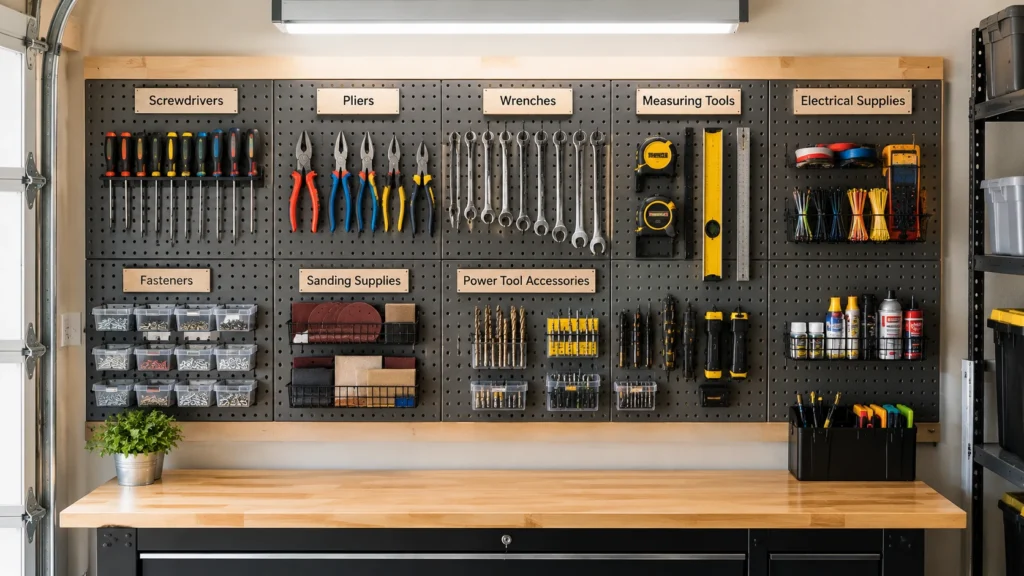
Best for: Shared garages and busy households.
You don’t need to label every tool.
Instead, create broader sections such as:
- Screwdrivers
- Pliers
- Wrenches
- Measuring Tools
- Fasteners
- Electrical Supplies
- Sanding Supplies
- Power Tool Accessories
Labels are particularly useful when several people use the garage.
Why it works: A defined storage location is easier for everyone to follow.
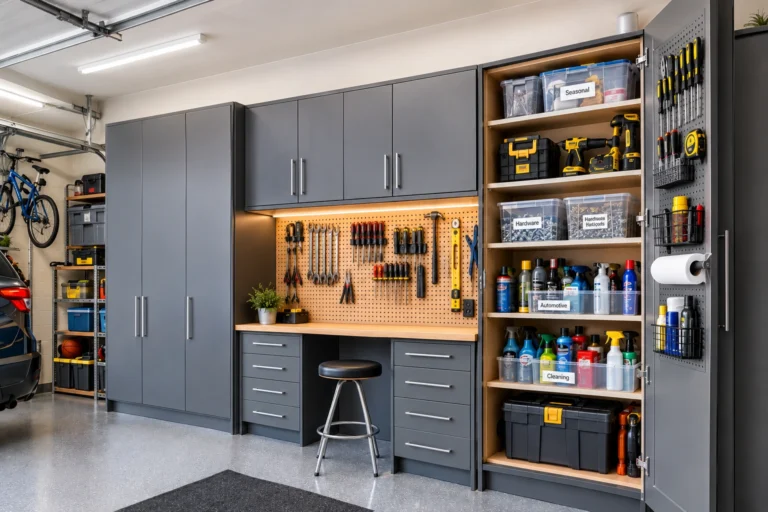
14. Combine Pegboard Storage With Garage Cabinets
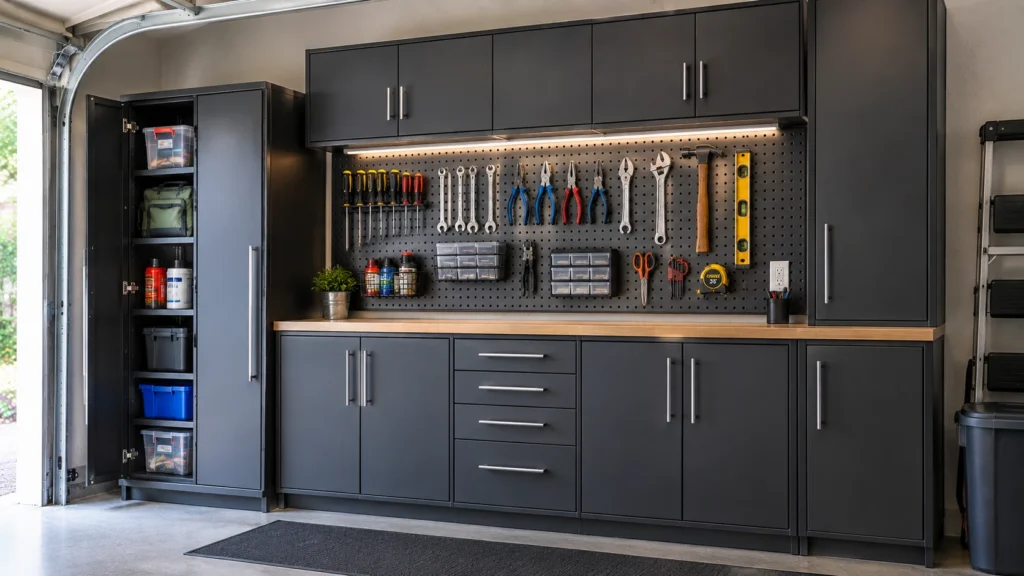
Best for: Garages that need both open and hidden storage.
A pegboard doesn’t need to store everything.
Use it for tools you reach for regularly and cabinets for bulky, rarely used, or visually distracting items.
For example, screwdrivers and pliers can remain visible while spare supplies and less-used equipment stay behind cabinet doors.
You can also place cabinets underneath a pegboard work area to create a more complete tool-storage station.
Why it works: You get the accessibility of open storage without making the entire garage visually crowded.
For more ways to use vertical garage space, see our Garage Wall Storage Ideas.
15. Create a Flexible Pegboard Wall That Can Grow
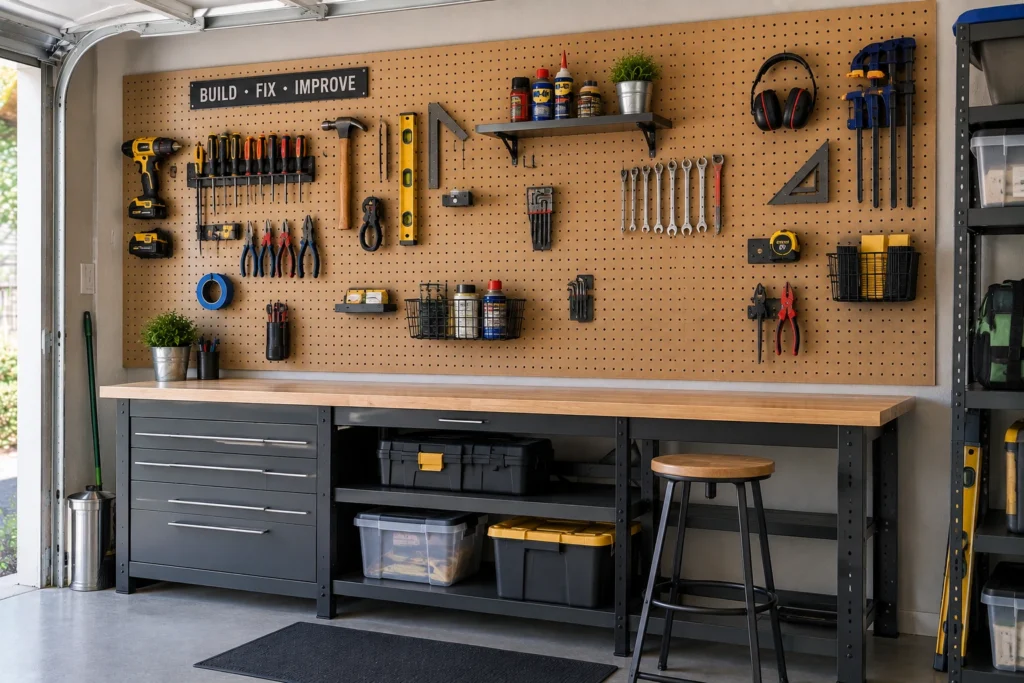
Best for: DIYers whose tool collection changes regularly.
Your tool collection probably won’t stay exactly the same.
New drills, clamps, accessories, measuring tools, and workshop supplies may eventually join it.
Instead of filling every available space, leave room for expansion and choose movable hooks and holders where possible.
When your needs change, move the accessories instead of rebuilding the entire wall.
Why it works: Your storage system can evolve with your tools instead of becoming outdated after a few months.
If you enjoy building your own storage solutions, these DIY garage storage ideas can give you more ways to customize your garage.
Which Garage Pegboard Setup Is Right for You?
You don’t need the biggest pegboard or the most accessories.
The right setup depends on your available space and the tools you actually use.
| Your situation | Recommended setup |
| Small garage | Compact pegboard above workbench |
| Mostly hand tools | Dedicated hand-tool wall |
| Many screwdrivers | Screwdriver holder section |
| Lots of small hardware | Clear bins and baskets |
| Several power tools | Pegboard + purpose-built holders |
| Shared family garage | Clearly labeled zones |
| Mixed workshop | Pegboard + cabinets |
| Growing tool collection | Flexible movable accessories |
For most homeowners, a hybrid layout is more practical than a board devoted to just one storage method.
3 Simple Garage Pegboard Layout Styles
The way you arrange the board can matter as much as the accessories you buy.
1. Zoned Layout
Divide the board into functional areas such as:
- Measuring
- Cutting
- Fastening
- Gripping
- Small hardware
- Power-tool accessories
This works well for general-purpose garages.
2. Project-Based Layout
Group tools according to the work you perform.
You might create separate woodworking, automotive, and household-repair sections.
This is useful when you regularly work on specific types of projects.
3. Shadow-Board Layout
Give individual tools a defined position using outlines or visual markers.
This is especially useful for frequently used hand tools because missing items are immediately noticeable.
Which layout is best?
For most homeowners, a hybrid approach works well.
Start with broad zones, then organize individual tools inside each zone.
That gives you the structure of a categorized system without making the board rigid.
Which Pegboard Material Is Best for a Garage?
Pegboards are available in different materials, and the best choice depends on the environment and the type of storage you need.
Hardboard
Hardboard is commonly suited to lightweight hand tools and basic garage organization.
It’s a practical option when the main goal is inexpensive vertical storage for everyday tools.
Metal
Metal pegboards can be useful when you want a more durable system and expect heavier use.
They’re worth considering for workshop environments where durability is a priority.
Plastic or Moisture-Resistant Options
If your garage experiences humidity or moisture, a material with better moisture resistance may be worth considering.
The important point is to choose the board based on your environment, expected load, and accessory compatibility, rather than assuming one material is universally best.
Always follow the manufacturer’s specifications for the board and accessories.
How High Should You Mount a Garage Pegboard?
There isn’t one mounting height that works for every garage.
Your height, workbench position, garage layout, vehicle clearance, and tool collection all affect the best position.
As a starting point, place your everyday tools in a comfortable standing reach zone.
Keep heavy tools where you can remove them safely without excessive stretching, and avoid positioning frequently used tools so high that you need a ladder for ordinary access.
Before permanently mounting the board, check:
- Workbench height
- Garage-door clearance
- Vehicle clearance
- Electrical outlets and switches
- Lighting
- Walking paths
- Your natural reach
The goal is simple: the tools you use most should be the easiest tools to reach.
Pegboard Planning Checklist
Before installing your garage pegboard, run through this checklist:
Wall size: How much usable space do you have?
Wall type: What mounting hardware is appropriate?
Tool weight: Which tools require stronger support?
Tool frequency: Which items do you use most?
Accessories: Which hooks, bins, baskets, and holders are actually necessary?
Clearance: Will tools interfere with vehicles, doors, or walkways?
Workbench: Is the board positioned conveniently for your work area?
Future growth: Have you left space for new tools?
Complementary storage: Would cabinets or shelves work better for some items?
Maintenance: Can everyone using the garage understand the layout?
This planning stage can prevent a common mistake: buying storage first and figuring out how to use it afterward.
What Should You Not Store on a Garage Pegboard?
A pegboard is versatile, but it shouldn’t become a catch-all storage system.
Avoid relying on basic pegboard hooks for:
- Very heavy equipment
- Bulky toolboxes
- Large containers
- Unstable objects
- Items requiring enclosed storage
- Chemicals or hazardous materials that require more appropriate storage
Heavy or bulky items may be better suited to properly rated cabinets, shelving, racks, or dedicated storage systems.
For any item with a significant load, consider the complete system: tool weight + accessory capacity + board + mounting hardware + wall structure.
How to Arrange a Garage Pegboard for Maximum Efficiency?
Start with your workflow rather than the board itself.
Put your most frequently used tools in the easiest-to-reach locations.
Then create broad categories and arrange related tools within them.
For example:
Measuring → Cutting → Fastening → Gripping → Hardware
You don’t have to follow this exact sequence. The best arrangement is the one that matches the projects you actually perform.
Keep some visual separation between categories.
A board packed from edge to edge may technically hold more tools, but retrieving one item can become harder.
A simple rule works well:
Store tools where your hand naturally wants to reach for them.
If you repeatedly move the same tool to a different location after using it, that’s useful feedback. The original location probably isn’t right.
How to Choose the Right Pegboard Accessories?
The board itself is only the starting point.
Choose accessories according to the actual storage problem you’re trying to solve.
Hooks
Best for individual hand tools and suitable hanging items.
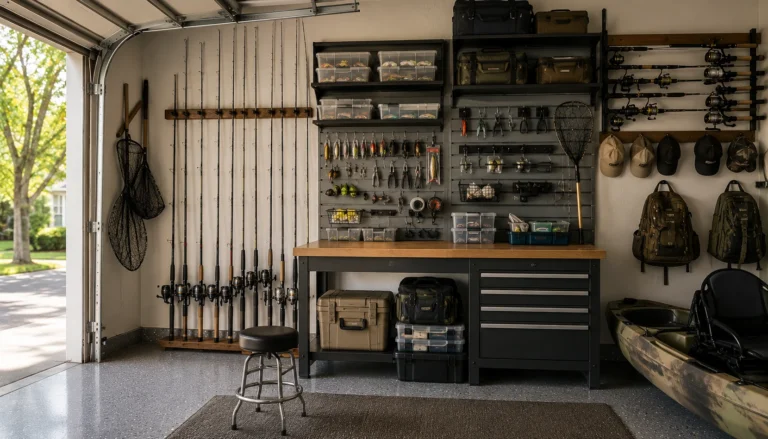
If your garage also stores fishing equipment, the same hooks and accessories can be useful for organizing fishing gear storage.
Tool Holders
Useful for screwdrivers and groups of similar tools.
Baskets
Good for loose accessories and irregularly shaped items.
Shelves
Useful for containers, supplies, and objects that don’t hang easily.
Clear Bins
Ideal for small hardware that benefits from visible storage.
Heavy-Duty Holders
Consider these when storing larger equipment that requires additional support.
Before purchasing, check that the accessories are compatible with your pegboard system.
How to Build a Pegboard Setup That Stays Organized?
The biggest mistake is treating installation as the finish line.
A good pegboard should be easy to maintain.
Give every major category a defined location.
When a tool repeatedly ends up on the workbench instead of the board, don’t automatically add another hook. Ask whether its current location actually makes sense.
You may need to move the hook closer to the workbench or beside the tools it’s commonly used with.
Every few months, review the board.
Remove tools you rarely use, consolidate duplicate accessories, and reposition storage when your projects change.
A flexible system should become easier to use over time, not harder.
10 Useful Products for a Garage Pegboard Setup
You don’t need every accessory listed here. Match each product to a specific storage problem.
- Pegboard hook assortment — for basic hand tools.
- Screwdriver holder — for keeping screwdrivers separated and visible.
- Pegboard baskets — for loose accessories.
- Pegboard shelves — for containers and supplies.
- Tool-specific holders — for specialized or unusually shaped tools.
- Clear hardware bins — for screws, bolts, nuts, and washers.
- Label holders — for clearly defined storage zones.
- Heavy-duty hooks — for appropriately supported larger tools.
- Pegboard mounting hardware — for secure installation.
- Magnetic tool holders — as a complementary option for suitable metal tools.
What should you prioritize?
If you’re starting from scratch, don’t buy all ten categories immediately.
Start with the tools you need to organize, then choose the accessories that solve those specific problems.
For example:
Scattered screwdrivers → screwdriver holder
Loose hardware → clear bins
Mixed hand tools → hook assortment
Bulky accessories → basket or shelf
Changing layout → movable modular accessories
This approach keeps affiliate recommendations useful instead of turning the article into a generic shopping list.
FAQ
Is a pegboard good for garage tool storage?
Yes. Pegboards work particularly well for frequently used hand tools and smaller accessories because they keep items visible and make the storage layout easy to change.
How do I organize tools on a garage pegboard?
Start by grouping similar tools, then place frequently used items in the easiest-to-reach areas. Leave some open space and organize the board around your actual workflow.
What tools should go on a pegboard?
Common choices include screwdrivers, pliers, hammers, wrenches, measuring tools, utility knives, clamps, and selected accessories. Heavy or bulky equipment may require stronger storage.
Can a pegboard hold power tools?
Some power tools can be stored on a pegboard when compatible, appropriately rated holders and secure mounting are used. Always check the manufacturer’s weight recommendations.
How much weight can a garage pegboard hold?
There is no universal weight limit. Capacity depends on the board material, mounting method, wall structure, accessories, and how the load is distributed.
Should I use a pegboard or garage cabinets?
Use pegboards for frequently used tools you want visible and accessible. Cabinets are generally more useful for bulky, rarely used, or visually distracting items. Using both can create a more balanced garage storage system.
Conclusion
The best garage pegboard ideas aren’t necessarily the ones with the most hooks or the biggest wall.
A useful setup starts by identifying the tools you actually use, placing them where they’re easy to reach, and choosing accessories based on the problems you need to solve.
For a small garage, that might mean a compact pegboard above the workbench. A larger workshop may benefit from combining pegboard storage with cabinets, shelves, bins, and dedicated power-tool storage.
Pay attention to the material, mounting system, tool weight, accessibility, and available expansion space before installing the board.
Most importantly, don’t try to make the pegboard store everything.
Use it for the tools and accessories that benefit from visibility and quick access, while giving heavy, bulky, or unsuitable items a more appropriate storage location.When the layout reflects the way you actually work, a pegboard can reduce workbench clutter, make tools easier to find, and turn an otherwise unused garage wall into a genuinely useful part of your storage system.